Total external static pressure is the most informative single measurement in residential HVAC, it takes about ten minutes, and it is almost never taken. A contractor who has never measured it on your system does not know whether the system is working — they know whether it is running, which is a different thing.
What you are measuring
A residential air handler is typically designed for 0.5 inches of water column of total external static pressure. That is the budget, and it is spent by everything the air has to pass through: the filter, the indoor coil, the supply ducts, the return ducts, the registers and the grilles.
Over budget, and airflow falls below design. Below design airflow the coil can freeze in cooling, the heat exchanger runs hot in heating, the compressor operates outside its intended range, and the electricity bill rises — while every individual component still measures "correct" on its own.
What you need
A digital manometer reading in inches of water column, with two ports and a pair of static pressure tips. The tips are small probes with a right-angle bend; the bend matters, because you are measuring static pressure and not velocity pressure. A ⅜ inch drill bit, and self-adhesive plugs to close the holes afterwards.
Where to drill
Two holes, both between the filter and the blower's discharge — the "external" part.
- Return side: in the sheet metal between the filter and the blower. If the filter is at the air handler, this is on the blower side of it.
- Supply side: immediately after the blower, before the indoor coil in a cooling-only air handler, or after the heat exchanger in a furnace.
The exact positions depend on the equipment layout. What matters is that both readings are taken outside what the equipment itself contains — the number you want is what the ductwork and filter impose on the blower, not what the blower fights internally.
Before drilling: turn the system off at the breaker. Look at what is on the other side of the panel — refrigerant lines, wiring and a heat exchanger are all things not to drill into. On a furnace, stay well clear of the exchanger.
Taking the reading
- System off. Drill both holes, ⅜ inch.
- Insert a static pressure tip in each, with the bend facing into the airflow on the return side and into it on the supply side.
- Connect the return probe to the manometer's negative port and the supply probe to the positive.
- Zero the manometer with both ports open to the room.
- Run the system on the speed you want to test — cooling, or high-stage heat.
- Wait for the reading to stabilise, about a minute.
The number displayed is your total external static pressure.
Reading the result
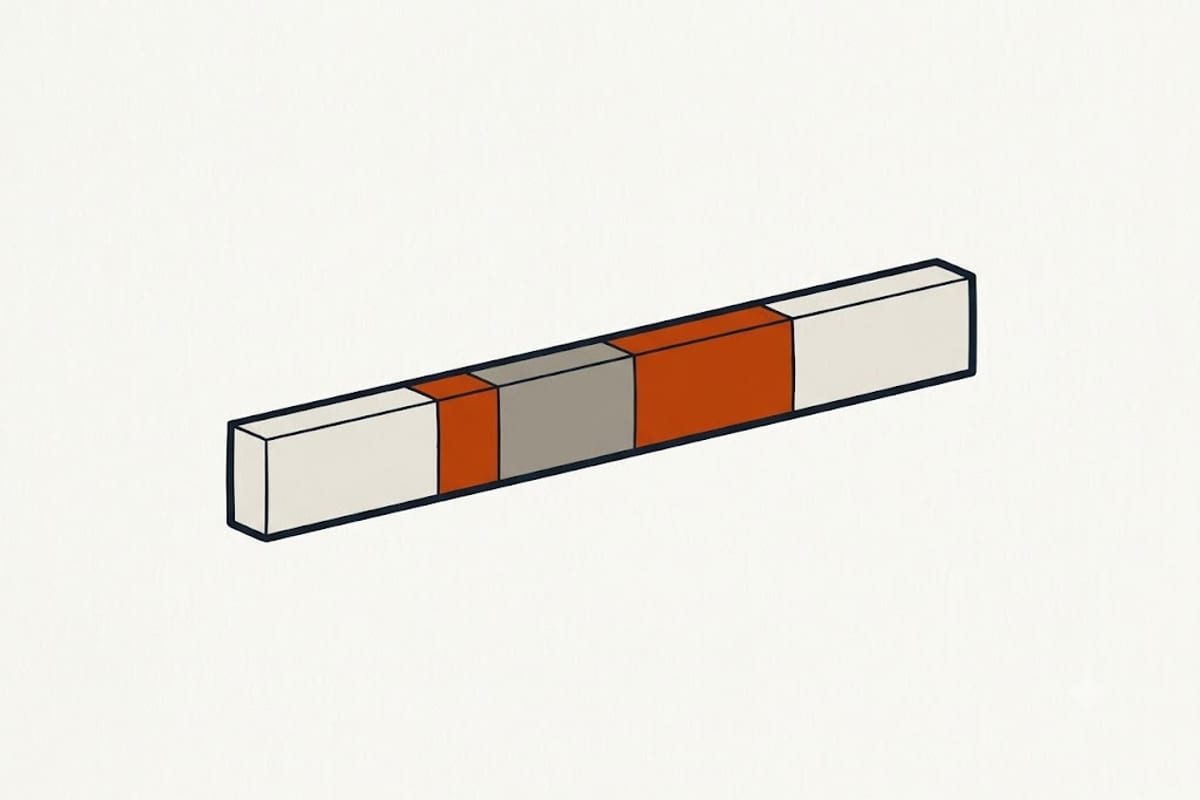
| Reading | What it means |
|---|---|
| Under 0.5 in w.c. | Within design. The blower is delivering rated airflow. |
| 0.5 – 0.7 | Over budget. Expect noticeably reduced airflow and higher running cost. |
| 0.7 – 0.9 | Substantially strangled. Comfort complaints and coil freezing are likely. |
| Over 0.9 | Airflow is far below design. The equipment is being damaged. |
Then find where it went
The total tells you there is a problem. Two more readings tell you where:
Filter pressure drop. Take a reading either side of the filter. A 1-inch pleated MERV 8 costs about 0.25 in w.c.; a 1-inch MERV 13 costs around 0.45 — nearly the entire budget, on its own, before the air has gone anywhere. A 4-inch media cabinet filters as well or better at about 0.15, because more filter area means lower velocity through the media. It is the rare upgrade that improves two things at once.
Return against supply. Compare the two sides. If the return side dominates — which it very often does — the return ducting is undersized, and that is the constraint. Most residential systems are starved on the return, and most remedial work is done on the supply.
What to do with a bad number
In order of cost against benefit:
- The filter, almost always. Biggest single line, cheapest to change, and the change usually improves filtration rather than compromising it.
- The return path — more return area, a second return, or transfer grilles for closed rooms.
- The supply ducts — slack flex pulled taut and supported, crushed runs replaced.
Turning the blower speed up is not a fix. It moves the noise, raises the power draw, and leaves the restriction exactly where it was.
Leave the ports
Plug the holes with the self-adhesive plugs, and leave them there. Next time anything is serviced, the measurement takes two minutes instead of ten — and having the ports already fitted makes it far more likely somebody actually takes it.