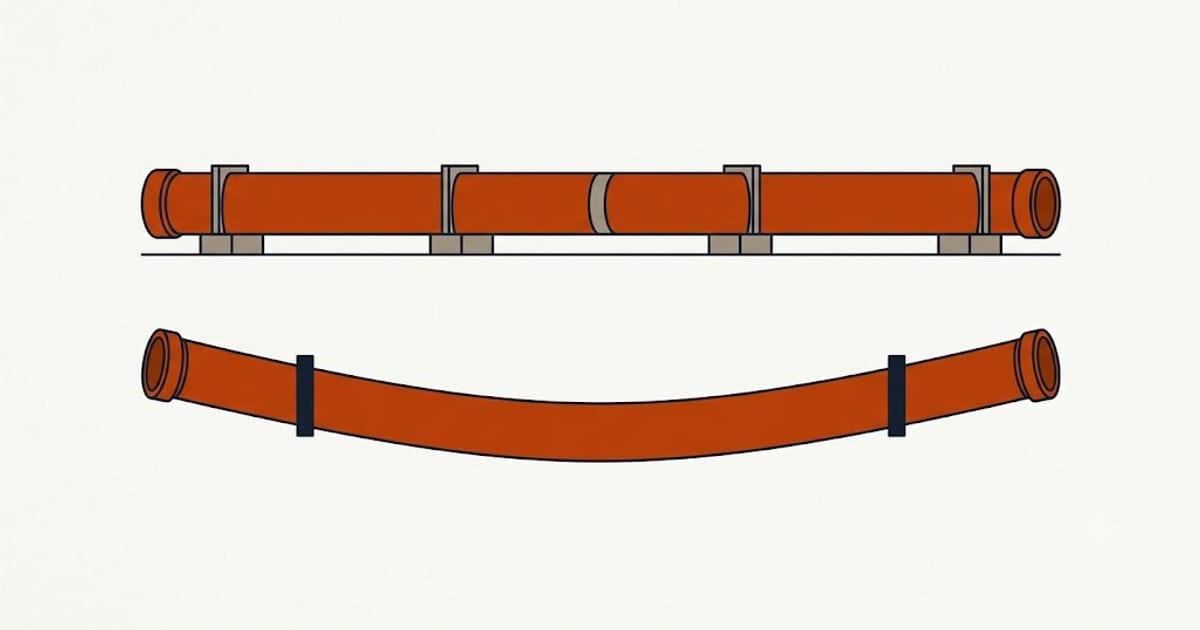
Flexible duct performs well when it is installed as it was tested, and its published capacity assumes conditions that are easy to describe and easy to miss.
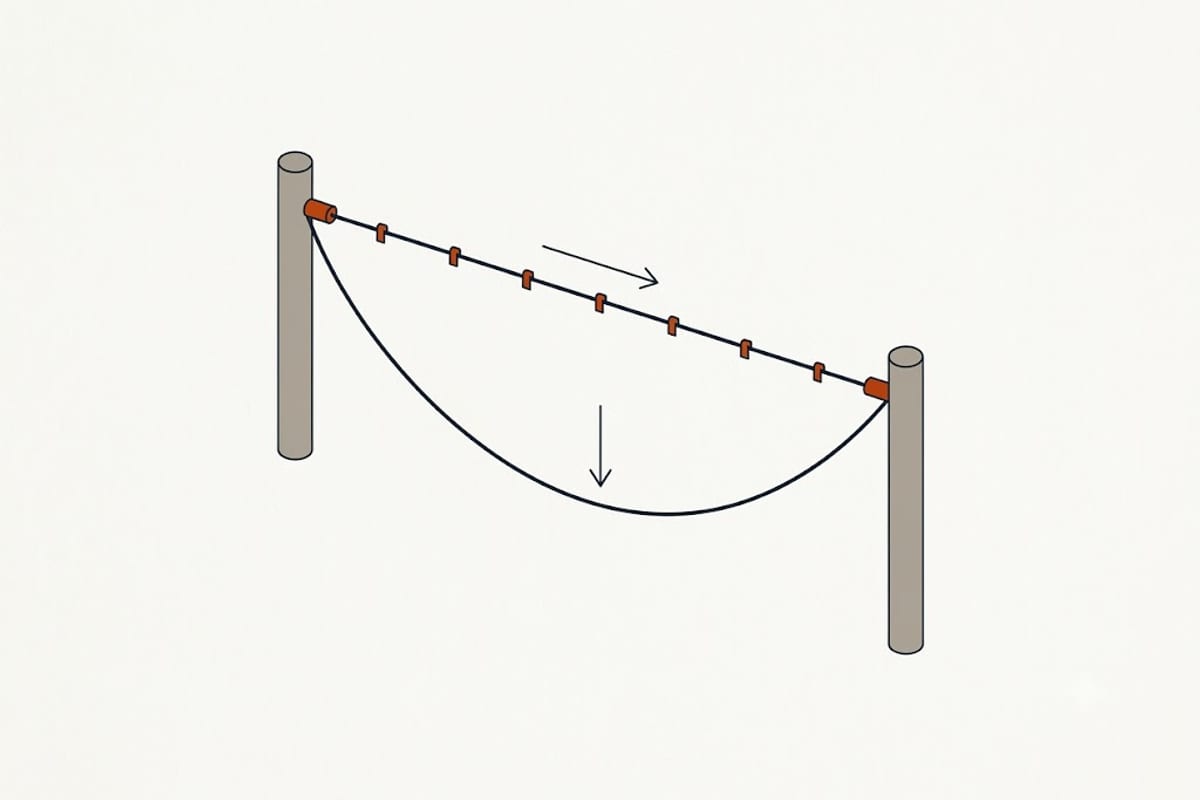
Fully stretched
The published airflow assumes the duct is pulled taut, so the inner liner is smooth between the wire helix turns.
Left slack, the liner corrugates more deeply and the effective area falls. Testing of compressed flex shows very large capacity losses — a run left with even a modest amount of slack can lose a substantial share of its rating.
Cut it to length. The temptation is to cut generously and let the extra bunch up at one end, and that extra is a restriction in the run.
Supported at close intervals
Support at intervals close enough that the duct does not sag between them — manufacturers and the relevant standards specify the maximum spacing, and the allowable sag between supports is small.
Wide straps, at least the width the manufacturer specifies, spread the load over the jacket.
Not wire, not narrow plastic ties. Both cut into the jacket and pinch the liner, which produces a restriction at every support and tears the vapour barrier.
Gentle bends
Manufacturers specify a minimum bend radius, commonly expressed as a multiple of the duct diameter.
A tight bend can close much of the cross-section. A right-angle turn in flex is the worst common fault, and it usually happens at the boot where the duct turns down into a ceiling.
Use a metal elbow at the boot and let the flex approach it straight. That single change removes the sharpest bend in most branch runs.
Connections at both ends
Flex has two layers to connect and both matter.
The inner liner goes over the collar, is clamped or strapped, and is sealed with mastic. That is the air seal.
The insulation and outer jacket are then pulled over and sealed separately. That is the vapour seal.
Sealing one and not the other is the most common flex installation fault. An unsealed jacket in a humid attic lets moist air reach the cold liner, and the insulation gets wet.
A drawband or clamp on the liner is required in addition to mastic, not instead of it — mastic bonds, and the mechanical fastening holds the joint while it cures and afterwards.
Not resting on the ceiling
Flex laid on the attic insulation or on the ceiling drywall is compressed by its own weight and by anything above it.
It should be supported clear, or deliberately buried in insulation as a designed assembly with the condensation implications addressed.
Not passing through framing
A duct squeezed past a truss chord or through a notch is restricted at that point permanently, and it is invisible.
Route around, or use a metal transition through the tight spot.
Inspecting an existing installation
Go into the attic with a torch and look along each run.
Slack, sags, tight bends, wire ties, torn jackets, ducts resting on the ceiling, ducts crushed against framing — each is capacity lost and most are correctable in an afternoon with straps and mastic.
Pulling the slack out of a run and re-supporting it costs almost nothing and is one of the few improvements a homeowner can make to a duct system directly.
Where flex should not have been used at all
Trunk lines, long runs, and anywhere that will be inaccessible afterwards.
Where those exist, the practical remedy is usually to correct the installation rather than replace the material — but it is worth knowing which faults are installation and which are the wrong material in the wrong place.